Assassin‘s Creed Odyssey Live! Join us
Conquering Phokis: A Masterclass in Fort Infiltration
Welcome to the heart of Ancient Greece. In this extensive gameplay session, we dive deep into the rugged wilds of Phokis to dismantle one of the region’s most daunting challenges: Pharsalos Fort. Whether you are a seasoned Misthios or a newcomer to the Assassin’s Creed franchise, this walkthrough provides a comprehensive look at the tactical depth required to systematically take down a major Athenian stronghold.
View the interactive walkthrough with clickable timestamps here.
The Art of the Infiltration
Taking down a fort isn't just about brute strength; it’s about patience and reconnaissance. We begin the session at [0:00:24] by securing a high vantage point. Scouting is essential in Odyssey—using the eagle Ikaros (or manual observation) allows you to tag Captains, locate war supplies, and identify the brazier before the alarm can be sounded.
The initial breach begins at [0:02:45]. Notice the emphasis on verticality; scaling the outer walls allows us to bypass the heavily guarded main gates, setting the stage for a series of stealth takedowns starting at [0:05:30].
Key Gameplay Moments
- Tactical Sabotage [0:23:15]: One of the primary goals in any fort is the destruction of war supplies. By committing arson, we not only complete objectives but also significantly weaken the region's Nation Power, making the eventual Conquest Battle much easier.
- Combat Escalation [0:31:30]: Stealth is the goal, but discovery is often inevitable. We showcase how to manage elite heavy guards in the upper courtyard, utilizing parries and ability rotations to survive against superior numbers.
- The Polemarch Duel [0:45:15]: Every fort is led by a Polemarch—the toughest soldier on-site. This confrontation serves as the climax of the infiltration, requiring precise timing and the use of "Hero Strike" and "Fury of the Bloodline" to break through their heavy shields.
- Night Operations [1:04:30]: To showcase the difference in guard patterns and visibility, we move to the Erochos Military Camp under the cover of darkness. Infiltrating at night provides a distinct stealth advantage as many guards are asleep in their tents.
What You’ll Learn in This Video
This playthrough is designed to be more than just a let's play; it is a strategic guide for clearing high-level outposts. You will see:
- Objective Prioritization: Why looting the treasury [0:50:30] and burning supplies should often happen before engaging the main boss.
- Environmental Navigation: Using hidden passages and ramparts [0:36:00] to break line-of-sight and reset your "hidden" status when things get heated.
- Regional Completion: Beyond the fort, we venture into the Phokis forests at [1:00:00] to deal with bandit camps, demonstrating how to achieve 100% completion in a sub-region.
Closing the Session
After the dust settles at Pharsalos, we manage the remaining "heat" (Bounty Level) at [0:55:00] and finish the session with a series of skirmishes that secure the Phokis region for our chosen faction.
For more detailed guides and interactive gameplay breakdowns, visit the full walkthrough at Pixel Fun Gaming.
Video Timeline
- - Introduction and Loading Screen
- - Scouting Pharsalos Fort from a high vantage point
- - Initial stealthy approach and wall scaling
- - Subduing guards on the outer perimeter
- - First major combat engagement
- - Taking down the first Fort Captain
- - Sabotaging war supplies through arson
- - Engaging elite heavy guards in the upper courtyard
- - Confrontation with the Fort Polemarch
- - Completing final objectives and looting the treasury
- - Night infiltration of Erochos Military Camp
- - Conclusion of the gameplay session
Related Videos

HITMAN: Slim Shady Elusive Target | The Reflection | Suit Only, Silent Assassin #SlimShady #Hitman
The video begins with a loading screen displaying the target, Slim Shady. Agent 47 enters a psychedelic, neon-lit corridor, walking past multiple digital portraits of the target. Arriving at a modern facility, dressed in a blue 'Shady' robe, Agent 47 receives instructions to eliminate Slim Shady. He navigates through various sections of the building, which includes a hot spring area and a snowy outdoor landscape. Stealth is emphasized as he avoids patrolling guards and snowmobiles. Agent 47 finds a screwdriver and enters a blue-lit interior stairwell, leading to a mortuary. Inside, he silently subdues a guard and disposes of the body in a mortuary cooler. He then disables a camera recording device. Further into the mortuary, Agent 47 observes what appears to be Slim Shady on a gurney, surrounded by medical staff in a red-lit environment. He picks up a scalpel, then bypasses more guards in the mortuary before moving towards another stairwell. An announcement from Slim Shady echoes, directing everyone to watch his show. Agent 47 silently takes down a person in a green scrub suit and conceals the body. He then strategically throws a banana peel, causing Slim Shady to slip and fall, allowing for a stealth takedown. This body is also hidden. Agent 47 proceeds through a utility area, picking up another screwdriver, and hides in a laundry cart to evade more guards. He ambushes and eliminates a guard in a red jumpsuit, hiding the body. He later interacts with a television displaying abstract visuals. Returning to the morgue, Agent 47 encounters another instance of Slim Shady. After a brief observation, Agent 47 executes a final melee kill on Slim Shady using a scalpel, completing the objective. He hides the body and then proceeds to locate the mission exit, which is indicated by on-screen prompts. The video concludes with Agent 47 successfully exiting the mission area, transitioning to a mission summary screen. The video opens with a brief glimpse of a game menu featuring a grid of blurred item or achievement icons, with one particular icon highlighted against a purple background. The scene quickly transitions to a post-mission results screen for the game 'Hitman,' where Agent 47, dressed in his signature suit with a red tie, is prominently displayed. The screen highlights a 'Silent Assassin' rating for the mission 'Situs Inversus - The Antithesis - Level 1,' completed in 30 minutes and 5 seconds with a total score of 156,645. As the results are tabulated, various experience point (XP) bonuses rapidly flash on screen, indicating successful stealth actions such as silent takedowns, erasing recordings, and remaining unnoticed, all contributing to the player's overall level. The video concludes with a fade to a black screen displaying the creator's channel name, 'PIXELFUNGAMING,' accompanied by a call to action to 'Like | Share | Subscribe.' 📖 Chapters: 0:00:00 - Loading Screen and Psychedelic Entrance 0:00:13 - Mission Briefing and Initial Navigation 0:00:43 - Outdoor Snowy Environment and Tool Acquisition 0:01:10 - Mortuary Infiltration and First Takedown 0:01:33 - Evidence Destruction and Mortuary Observation 0:02:06 - Scalpel Acquisition and Further Movement 0:02:27 - Target Observation and Distraction Planning 0:02:50 - First Slim Shady Takedown and Body Hiding 0:03:45 - Return to Mortuary and Guard Elimination 0:04:15 - Utility Area Navigation and Concealment 0:05:08 - Interactive TV and Return to Morgue 0:05:35 - Final Target Encounter and Elimination 0:08:55 - Mission Objective Completed and Exit 0:09:40 - Mission Exit and Summary 0:00:00 - Initial game menu screen with item grid 0:00:01 - Hitman post-mission results and Silent Assassin rating 0:00:05 - Display of mission time, score, and rapid XP gains 0:00:23 - Transition to creator's end screen 📖 Interactive written walkthrough with clickable timestamps: https://pixelfungaming.com/videos/hitman-slim-shady-elusive-target-the-reflection-suit-only-silent-assassin-slimshady-hitman
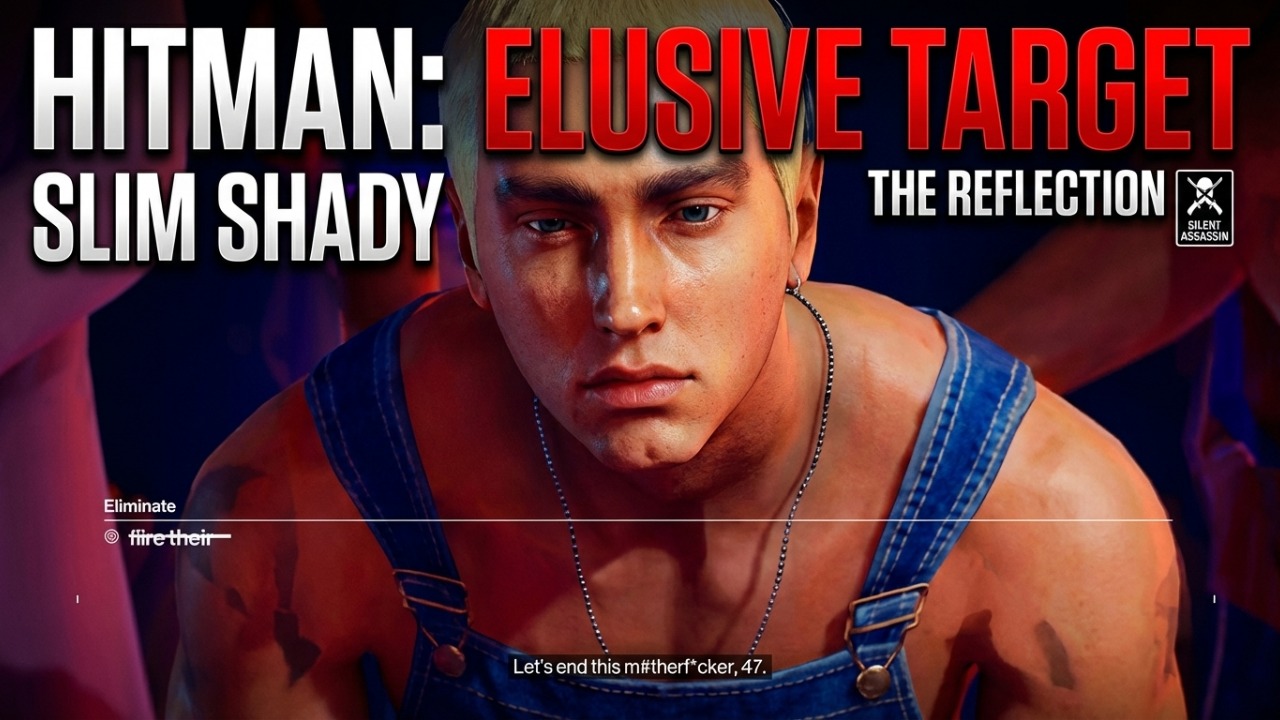
HITMAN: Elusive Target | Slim Shady ''The Reflection" | Silent Assassin #hitman
Agent 47 receives a briefing, learning his target is Slim Shady, who has taken control of the GAMA facility in Hokkaido, transforming it into a chaotic 'childhood playground and insane asylum.' The briefing features rapid cuts between various stylized scenes showcasing Slim Shady's persona, including him on stage, in a kitchen, and interacting with masked individuals and patients. The mission activates, placing Agent 47 in a patient gown within a distorted, psychedelic hallway. The hallway's reality breaks, transitioning Agent 47 into the vibrant, pink-lit outdoor garden area of the facility, which is set up as a large concert venue with screens displaying Slim Shady. Patients roam the grounds, and Agent 47 navigates among them. Moving indoors, Agent 47 enters the 'Mom's Spaghetti' restaurant area where Slim Shady is seen interacting with his entourage and staff, demanding a 'spaghetti sandwich.' A distraction occurs, but Slim Shady remains focused on his meal. Agent 47 then encounters a doctor on the phone, who is distressed about 'weaponized music' and reveals details about a 'testing session,' triggering a mission story called 'Face The Music.' Agent 47 follows the doctor into a private area, subdues him, and dons his disguise. Now masquerading as a doctor, Agent 47 passes through a security checkpoint with masked guards and proceeds to the testing room. Inside, several doctors appear disoriented, and one is already deceased. Slim Shady enters, taunting the doctors and demanding innovative ideas for his 'brain chip.' He rejects a suggestion, abruptly shooting a doctor. Agent 47 speaks with Slim Shady's assistant, a woman with fairy wings, who provides a key and another clue: 'A Strange Photo - Mirror.' Upon interacting with a mirror, Agent 47 is transported into a distorted, dream-like house. The environment is hazy and ethereal, with visual glitches and shifting walls. Agent 47 explores this surreal domestic setting, receiving voice guidance that clarifies 'this is your dream' and he is 'in control here.' The exploration continues through various rooms, culminating in Agent 47 interacting with a cabinet and then breaking a mirror, which concludes the video. Agent 47, wearing a lab coat emblazoned with 'SHADY', begins a mission titled 'Eliminate Slim Shady' and 'Find the Manual' in a surreal, distorted environment. He navigates through rooms that appear to warp and glitch, with reflective surfaces showing alternate realities. A female voice guides him, hinting at unleashing 'the madness'. After interacting with a large mirror, he is transported to a dark, misty corridor where he retrieves a manual glowing brightly on a pedestal. The objective then changes to 'Attend the Testing Session'. He proceeds into a dimly lit, red-hued mortuary or lab area, where he stealthily neutralizes a guard in a control room, hiding the body and destroying surveillance evidence. Moving into a larger room filled with red curtains and medical equipment, he observes several individuals in similar lab coats, some seemingly distressed, while another man in overalls, identified as 'Slim Shady', engages them in a bizarre testing session involving 'Shepard Tone' and misophonia. As Slim Shady addresses the remaining 'failures' and dismisses them, Agent 47 strategically approaches the target, who is fixated on a mirror. Through a unique interaction, Agent 47 pulls Slim Shady through the mirror, eliminating him in a silent takedown. With the target eliminated, Agent 47 exits the area, passing through more reality-bending corridors, ultimately completing the mission with a 'Silent Assassin' rating, achieving high experience and challenges. 📖 Chapters: 0:00:00 - Mission Briefing: Target Slim Shady 0:00:51 - Agent 47 Enters Distorted Facility 0:01:17 - Exploring the 'Mom's Spaghetti' Restaurant and Garden 0:02:10 - Slim Shady Interacting with Staff and Patients 0:03:02 - Slim Shady Orders a 'Spaghetti Sandwich' 0:03:52 - Encountering Doctor and Mission Story Trigger 0:04:29 - Subduing Doctor and Acquiring Disguise 0:06:00 - Entering the Testing Room Disguised 0:07:30 - Slim Shady's 'Brain Chip' Testing Session 0:08:27 - Collecting Clue from Assistant 0:08:50 - Entering the Dream-like House 0:09:50 - Exploring the Surreal Dream Environment 0:00:00 - Entering a Distorted Reality 0:00:35 - Finding the Manual and Objective Change 0:00:44 - Navigating to the Testing Session Area 0:01:01 - Silent Takedown and Body Concealment 0:01:11 - Destroying Surveillance Evidence 0:01:17 - Observing the Testing Session 0:01:22 - Slim Shady's Appearance and Monologue 0:01:30 - Eliminating Slim Shady Through the Mirror 0:01:36 - Exiting the Mission 0:01:50 - Mission Accomplished: Silent Assassin 📖 Interactive written walkthrough with clickable timestamps: https://pixelfungaming.com/videos/hitman-elusive-target-slim-shady-the-reflection-silent-assassin-hitman
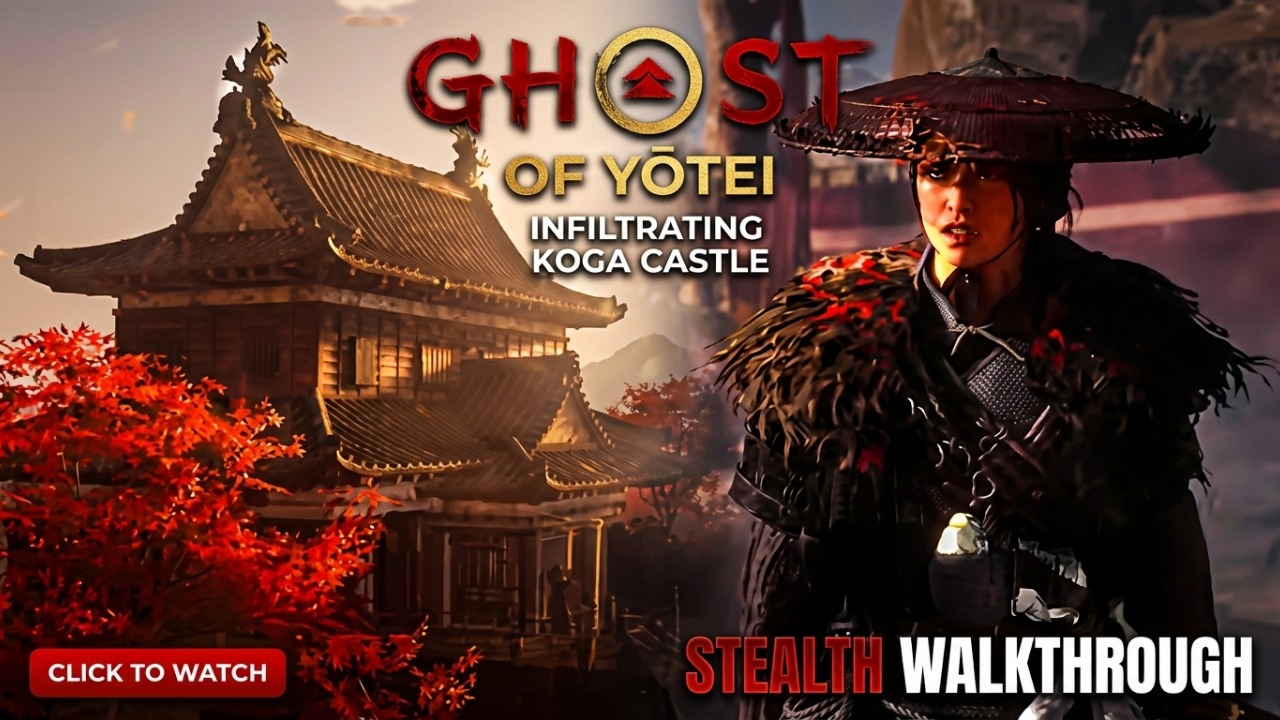
Ghost Of Yotei: Infiltrating Koga Castle Stealth Walkthrough #ghostofyōtei
The video opens with a cinematic shot of a boat traversing a foggy body of water at sunrise, surrounded by mountains. This transitions into a view of the Koga Fortress. Inside the fortress, a tense conversation unfolds between a stern warrior and two captives, a man and a woman, about the whereabouts of a missing person. The warrior makes threats, implying a painful end for the captives. The scene shifts to gameplay, where a character, dressed in a samurai-like attire, scales a steep cliff face, demonstrating agile climbing mechanics in a mountainous, misty environment. After reaching the top, the character observes the Koga Fortress from a distance, using a spyglass to identify key areas and enemies. The fortress appears to be a gunpowder production site, and the character plans a stealthy approach. The character navigates through the fortress, using stealth assassinations to eliminate enemies. They move through various parts of the fortress, including elevated wooden structures and grassy areas, performing silent takedowns on multiple guards. The character's movements are fluid, showcasing the game's combat and stealth mechanics. A cutscene shows a group of prisoners, including the previously seen man, being led through the fortress. The gameplay resumes with the character continuing to use stealth and chain assassinations to dispatch enemies. The video ends with the character continuing their stealth mission within the Koga Fortress. The video opens with the main character, a samurai-like figure, stealthily approaching a large wooden gate. Peeking through a crack, the character discovers several heavily armored adversaries surrounding a kneeling person. A female voice exclaims to protect "my brother," triggering the character to initiate a "Ghost Stance" attack. This cinematic sequence showcases swift, brutal sword strikes that rapidly neutralize multiple enemies, characterized by a red screen overlay emphasizing the intensity of the assault. The action then transitions into real-time combat against the remaining foes. The character skillfully uses various sword techniques, dodging incoming attacks, and engaging in close-quarters skirmishes. During the fight, a "low health" indicator appears, prompting a quick healing action. The character continues to battle, strategically moving around the environment, utilizing obstacles, and confronting both sword and spear-wielding opponents. The combat sequence highlights agile movement and precise strikes against multiple enemies. Following the intense battle, a cinematic cutscene unfolds. The protagonist converses with the rescued individual, Jubei, who expresses regret for past decisions and concern about another character, Saito. The protagonist reassures Jubei of the intent to save both him and Oyuki. However, Jubei appears conflicted and hints at the protagonist's inability to escape past events connected to Saito. The conversation further reveals Saito's ominous plans for Oyuki, underscoring the immediate need for action. The scene concludes with the two characters standing resolutely, poised for their next objective, before transitioning to a channel outro. 📖 Chapters: 0:00:00 - Opening Cinematic and Scenic Views 0:00:20 - Koga Fortress Introduction and Dialogue 0:02:11 - Mountain Climbing Gameplay Segment 0:03:12 - Fortress Reconnaissance with Spyglass 0:03:45 - Stealth Infiltration and Initial Assassinations 0:05:00 - Advanced Stealth Tactics and Chain Assassinations 0:06:10 - Navigating Fortress Terrain and Waterways 0:07:00 - Climbing to Elevated Positions for Strategic Advantage 0:07:40 - Observing Prisoners and Planning Rescue 0:08:50 - Continuing Stealth Engagements Within the Fortress 00:10:00 - Stealthy Approach to the Gate 00:10:06 - Discovery of Captives and Enemies 00:10:11 - Initiating Ghost Stance Attack 00:10:25 - Real-time Combat Engagement 00:10:47 - Low Health and Healing During Battle 00:11:15 - Intense Combat Against Multiple Foes 00:11:31 - Post-Combat Dialogue Cutscene Begins 00:11:51 - Protagonist's Reassurance and Jubei's Skepticism 00:12:20 - Discussion of Past Events and Future Threats 00:12:46 - Urgent Revelation of Saito's Plans and Conclusion 📖 Interactive written walkthrough with clickable timestamps: https://pixelfungaming.com/videos/ghost-of-yotei-infiltrating-koga-castle-stealth-walkthrough-ghostofytei